Your hands-on time: under 90 minutes for the Prototype preset, if you already have an Anthropic API key and accounts at GitHub (an organization), Cloudflare, Expo and Supabase. You do not need a domain.
Then the build runs unattended, and it takes hours (the planning figure is 6 to 9 hours; this is an estimate until measured on customer runs). You can close your laptop once the run starts. Plan to come back later the same day.
Before you start #
You need:
- To do: A computer with a terminal. Node.js 20 or newer,
git, andnpm. - To do: A GitHub organization you own. Personal accounts are not supported. Creating one is free: https://github.com/account/organizations/new?plan=free.
- To do: A Cloudflare account (free is enough to start). A domain is optional: without one, apps go live free at
<app>.<your-subdomain>.workers.dev; with one whose DNS is in Cloudflare (likeacme.com), at<app>.acme.com. See Cloudflare and presets. - To do: A Supabase account. See Supabase.
- To do: An Expo account. See Expo.
- To do: An Anthropic account with billing on and an API key. See Anthropic. Claude Pro and Max subscriptions cannot be used.
- To do: Your license key from the purchase email (starts with
LW1.).
You do not need Apple, Google Play or Twilio for the Prototype preset. Resend is needed only if your app sends email. See presets.
Step 1. Purchase and find your key (about 5 minutes) #
- Buy on the Starwisp site. A receipt email arrives with your license key, a link to these docs, the installer command, and a manual download link for the current release.
- Copy the whole key. It is one line, with no spaces.
You should now see a key that starts with LW1. in your email.
If you see no email: check spam, then use https://getstarwisp.com/retrieve-key: enter your purchase email and we send the key again.
You can check a key offline at any time:
npx starwisp license LW1.your-key-here
It prints Valid., your email, tier, and the date your updates run until.
Step 2. Sign in to GitHub and Cloudflare in your terminal (about 10 minutes) #
The installer uses your own sign-ins. Run these once:
gh auth login
gh auth refresh -s repo,workflow,read:org
npx wrangler login
If you do not have gh, install it from https://cli.github.com. wrangler opens your browser; sign in to Cloudflare there.
You should now see Logged in to github.com from gh auth status, and your email from npx wrangler whoami.
Step 3. Run the installer (about 15 to 25 minutes) #
npx starwisp init --org my-company
Replace my-company with your GitHub organization name. Paste your license key when asked. The installer runs ten steps and prints [n/10] as it goes. It asks for your domain (like acme.com, the one that is on Cloudflare). Press Enter if you have none: apps then use your free workers.dev address, and you can add a domain later in the console. Your browser opens once to create the GitHub App; click Create GitHub App, then Install.
Important: choose "All repositories". On GitHub's install page, under Repository access, pick All repositories, not Only select repositories. Every app you build gets its own new repository, and the App can only reach it with All repositories. If you pick the wrong one, the Setup page shows a red row "GitHub App covers all repositories" with a link to fix it.
The terminal prints one line per step, ending like this:
[10/10] Finish

Starwisp is installed.
  Repos:    https://github.com/my-company/factory  and  /app-template
  Console:  https://starwisp-console.my-company.workers.dev
  Next:     https://starwisp-console.my-company.workers.dev/setup
You should now see Starwisp is installed. and a console address ending in workers.dev. Your browser opens the console's /setup page.
Every step is explained in install, with every error message and its fix. If anything stops, run the same command again; it picks up where it stopped.
Step 4. Add your keys on the Setup page (about 30 minutes) #
Open Setup in the console menu (it is also where the installer sends you). It is a checklist over your identity and your keys. Each row shows a status, a time estimate and, when something is wrong, the exact fix with a link. Save a key on its Settings → Vault card (each vendor page below names the exact field), come back, and press Test on its row: a short read-only, free check against the vendor. Slow accounts (a D-U-N-S number, Apple organization enrollment, Google Play verification, Twilio A2P) are listed under Waiting on a vendor with typical lead times; tick Finished on each when the vendor says yes. Use the Prototype / Testers switch at the top to see only what your preset needs: rows it does not use read Not needed for Prototype. The Setup menu item disappears once every required key row passes (the vendor-wait rows are for your information and never block it). You can also use Hide Setup from the menu at the top of the page.
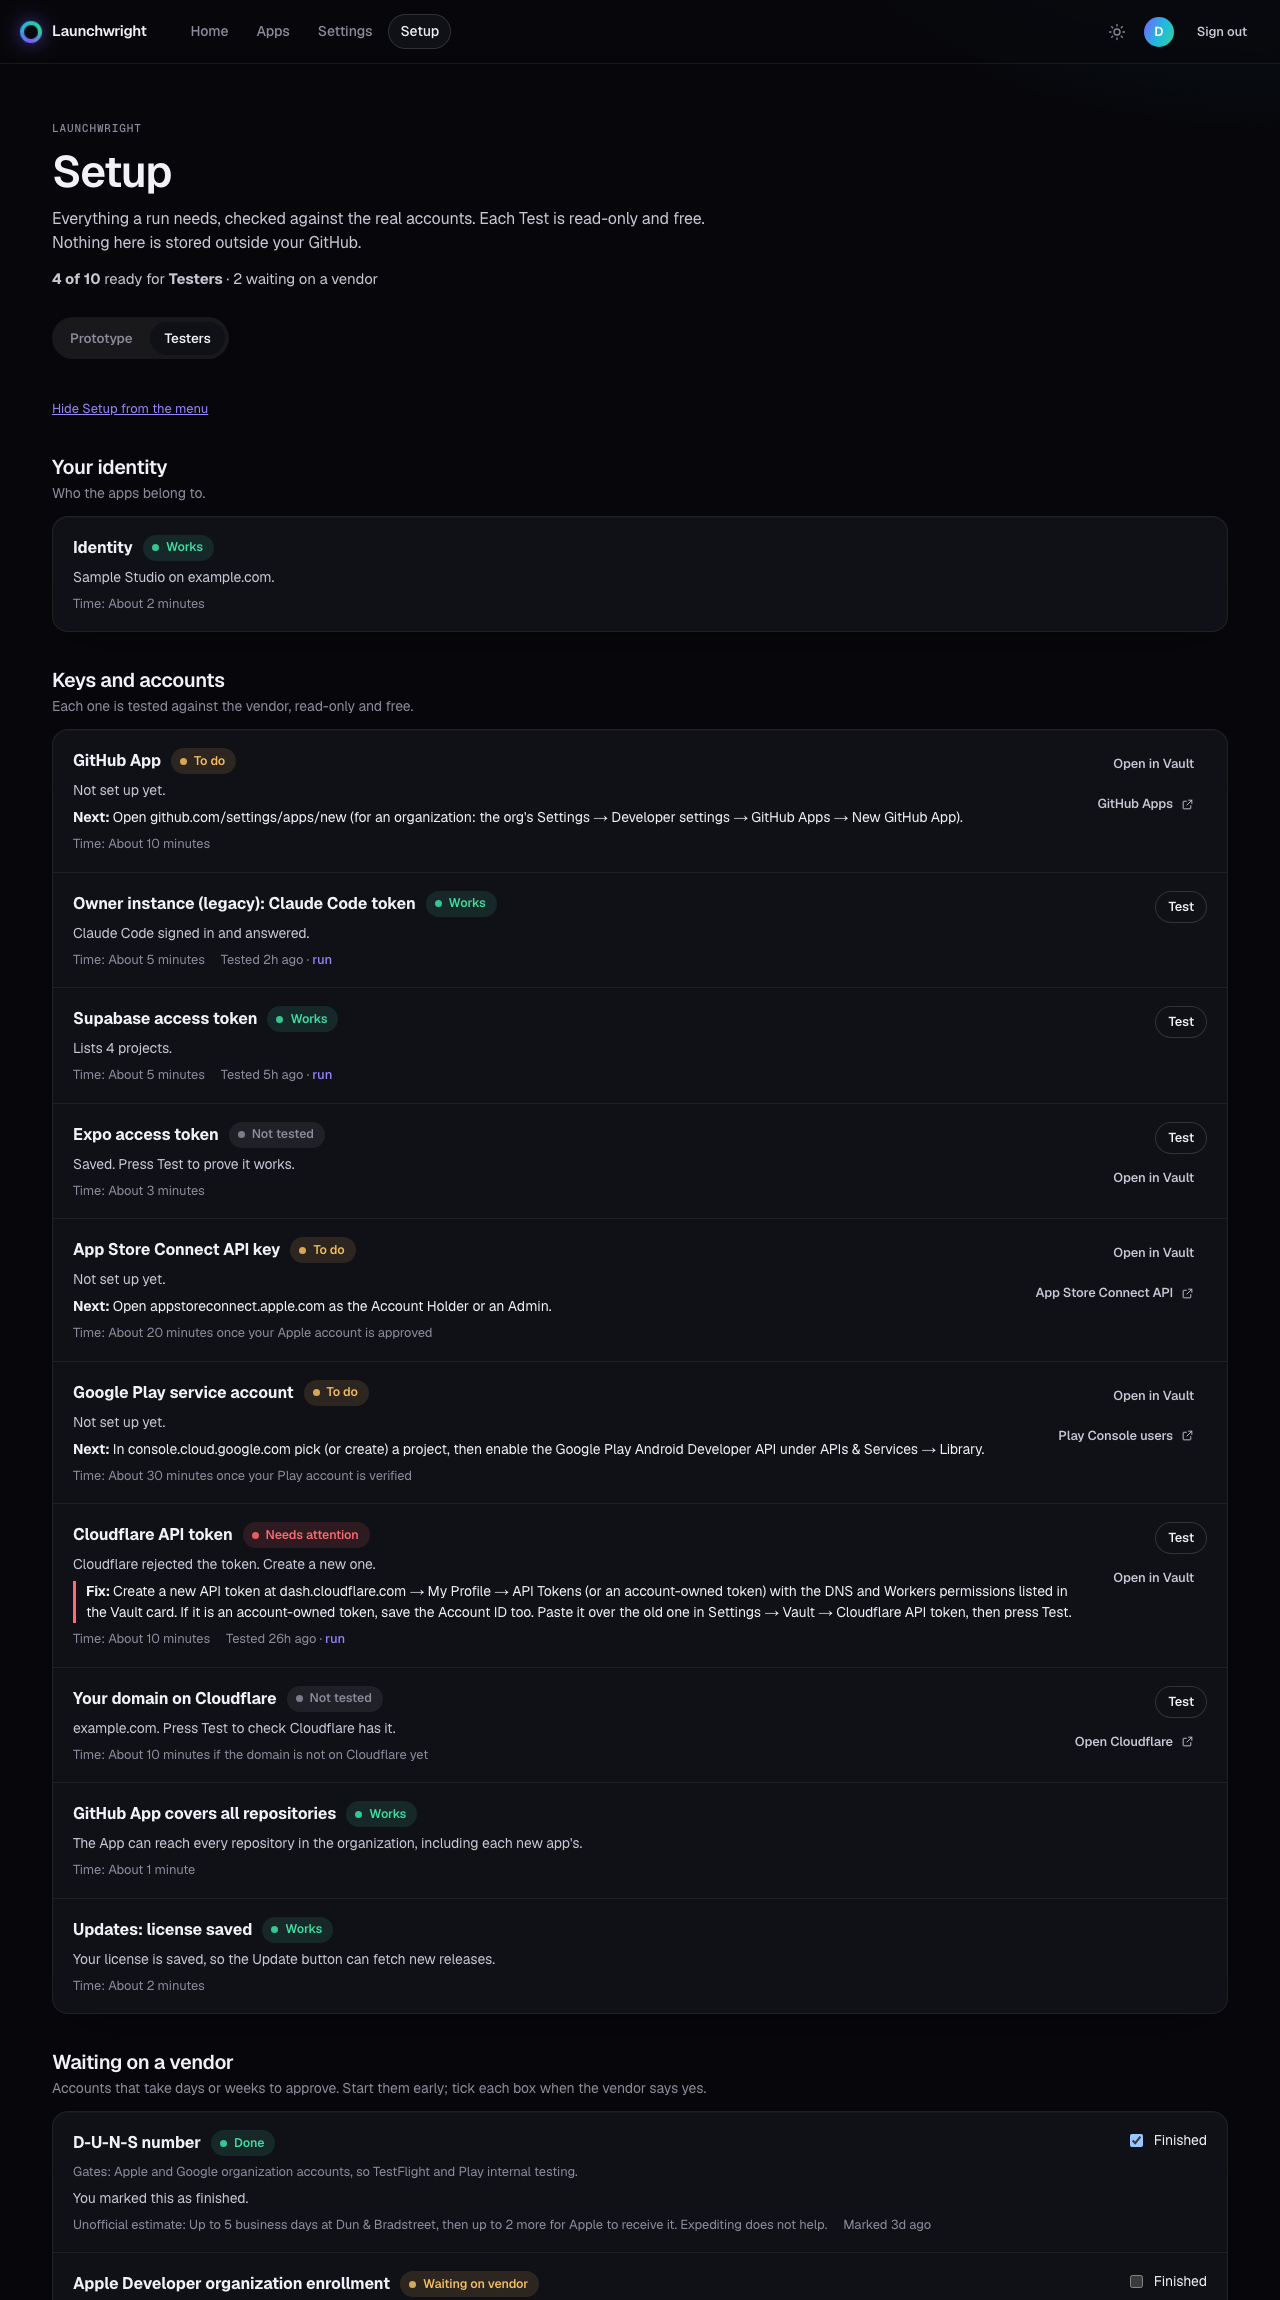
For the Prototype preset add these (the GitHub App is done by the installer):
- Anthropic: field Anthropic API key.
- Expo: field Expo access token.
- Cloudflare: card Cloudflare API token (token and Account ID; the Zone ID only with a domain). In Settings → Identity, either your domain is the House domain (the installer saved it if you gave it one), or, with no domain, your workers.dev subdomain is the Free web address (the form fills it in when the console runs on workers.dev; press Save). The Setup row Where apps go live has a Test for either one.
- Supabase: field Personal access token.
- GitHub: nothing to paste. The installer stored the App ID and private key.
In Vault, click Test now after saving each key. It catches a bad paste before a run needs it.
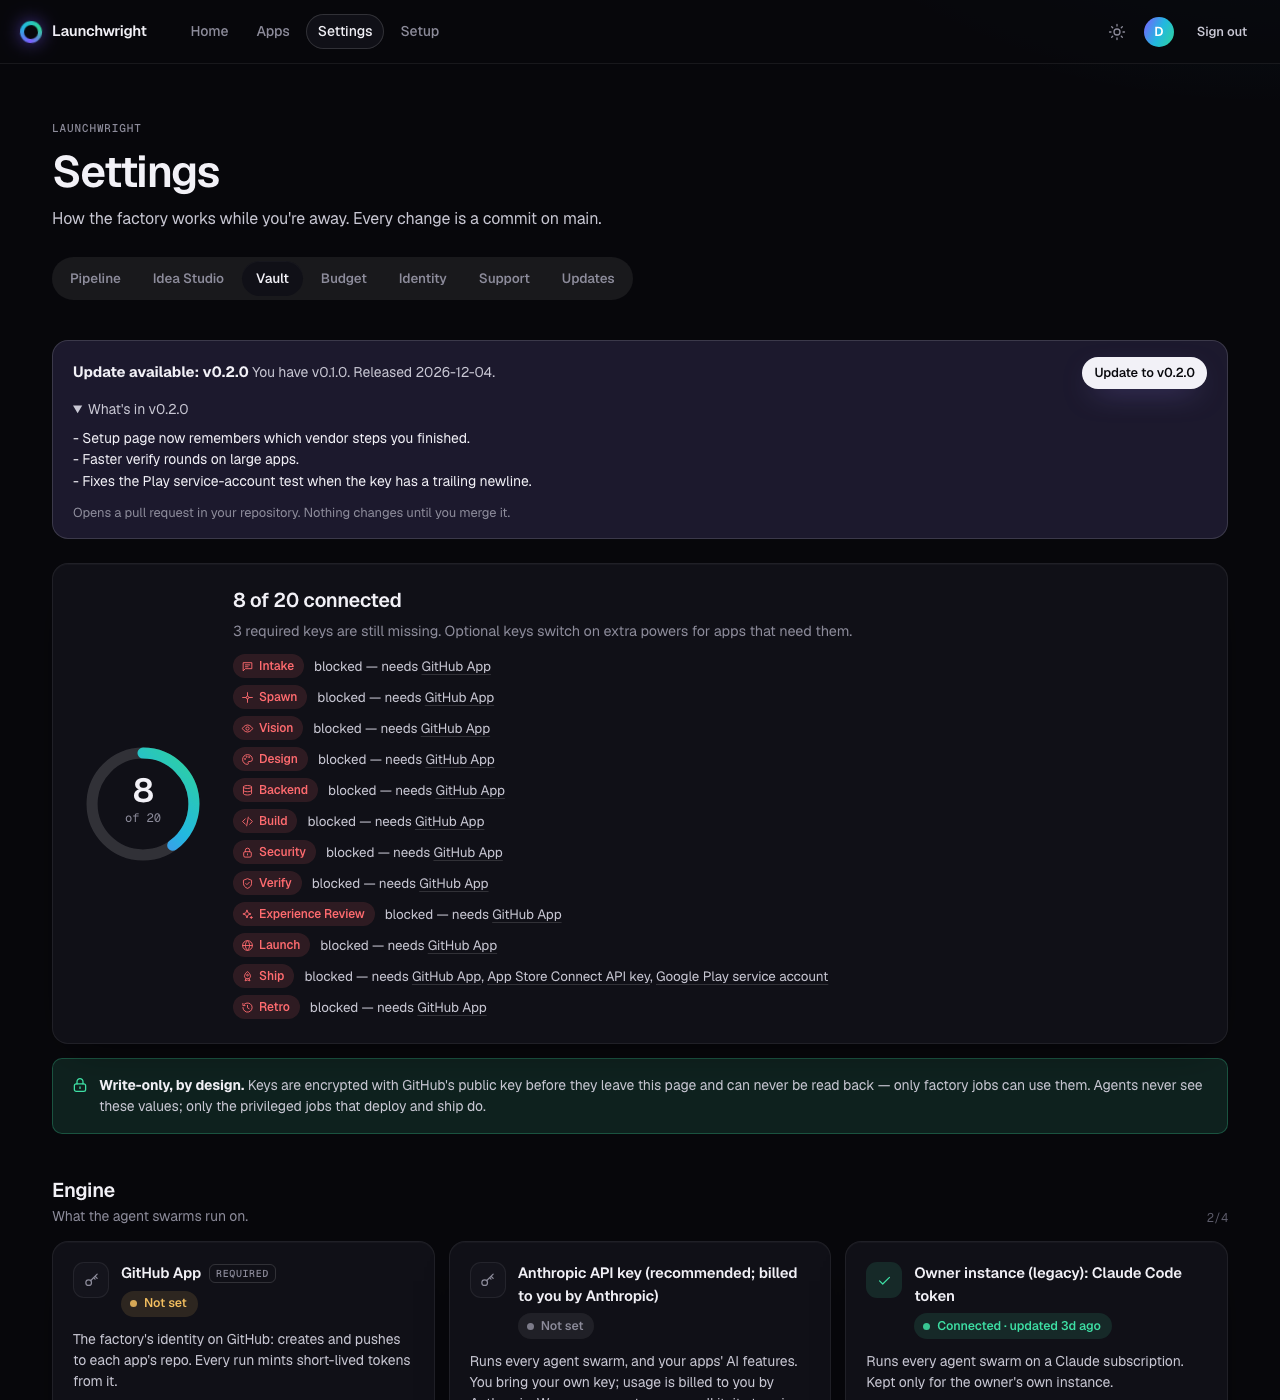
You should now see a passing test on each card.
Two more rows are worth a look: Updates: license saved (the installer saved your license so the Update button works; it is optional) and GitHub App covers all repositories.
Step 5. Set your spending limits (about 10 minutes) #
Do this before your first run. The agents can spend real money.
- In the Anthropic console, set a monthly spend limit (Settings → Limits). This is the hard backstop that Starwisp does not control.
- In the console, open Settings → Budget and set the Claude Per-run cap and Monthly cap.
Details and the numbers to start with are in costs.
You should now see your limit in the Anthropic console and your caps saved in Settings → Budget.
Step 6. Start your first run (about 15 minutes) #
- Open the console home page.
- Type your idea in a sentence or two and press Shape it. Claude refines it with you in the Idea Studio; when it is ready, click Build it.
- Pick Prototype in the Preset picker next to Build it. Without a choice, a run is the larger Ship to testers path, which needs more vendor keys (see presets).
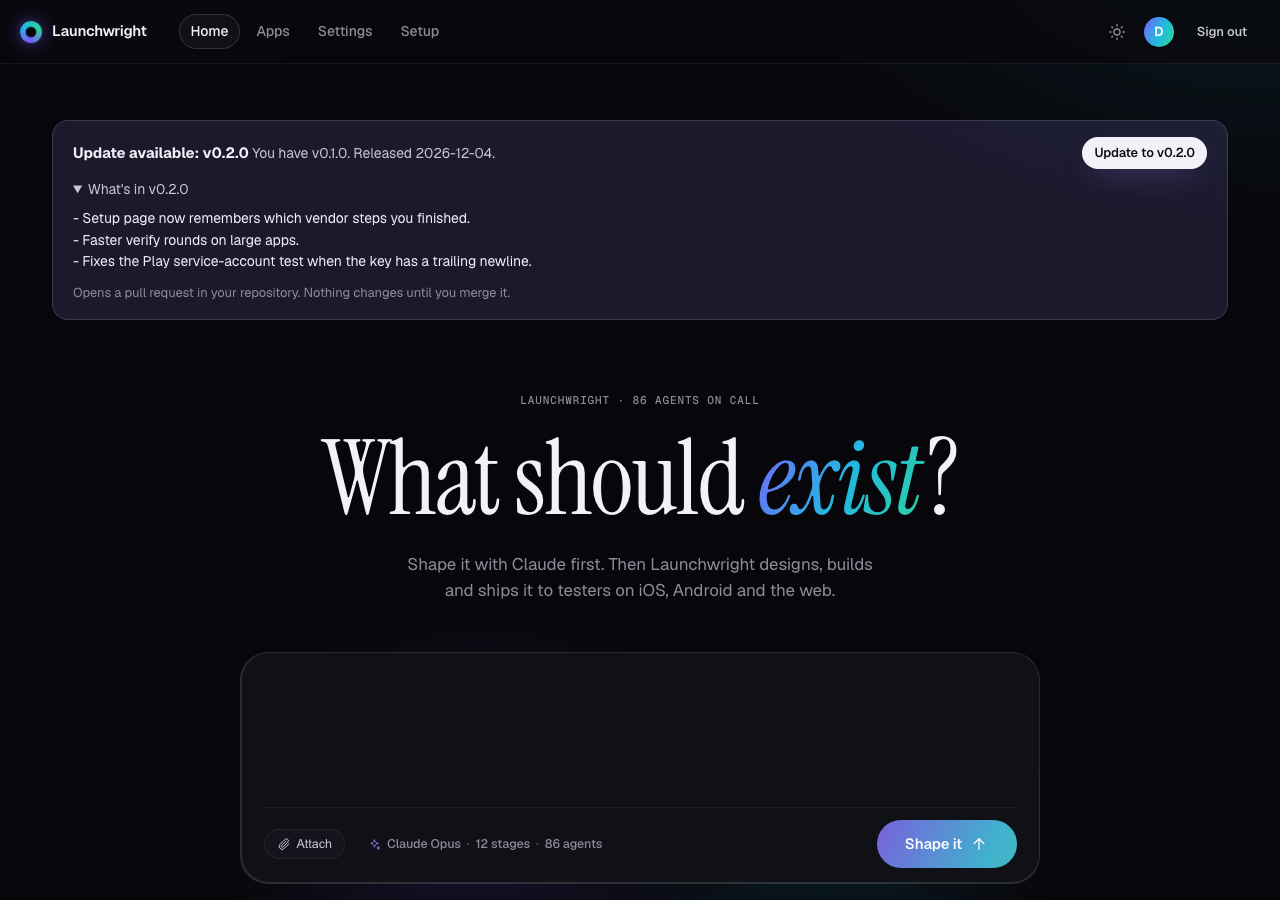
You should now see a new run on the home page, moving through its stages.
Step 7. Wait, then review #
The run is unattended. It takes hours. Each stage shows progress on the run page, with a live Claude spend line. If a stage hits your per-run cap it pauses and you can raise the cap and resume.
When it finishes you get your app's own GitHub repository and a live web preview. See presets for what "finished" means for each preset.
If something goes wrong #
- Installer errors: install.
- Anything after install: troubleshooting.
- Still stuck: support.
Plain-text version of this page: /docs/quickstart.md. This page is copied from the product's own docs, so it matches the release you install.
Next: Install